There’s something frustrating about setting up a beautiful desk only to have it ruined by a tangled mess of charging cables, monitor cords, and lamp wires snaking everywhere. Cable clutter doesn’t just look bad—it makes cleaning harder, catches dust, and turns plugging something in into an archaeological expedition. The good news? A few smart solutions can transform your workspace from chaotic to clean in an afternoon.
Start With What’s Underneath
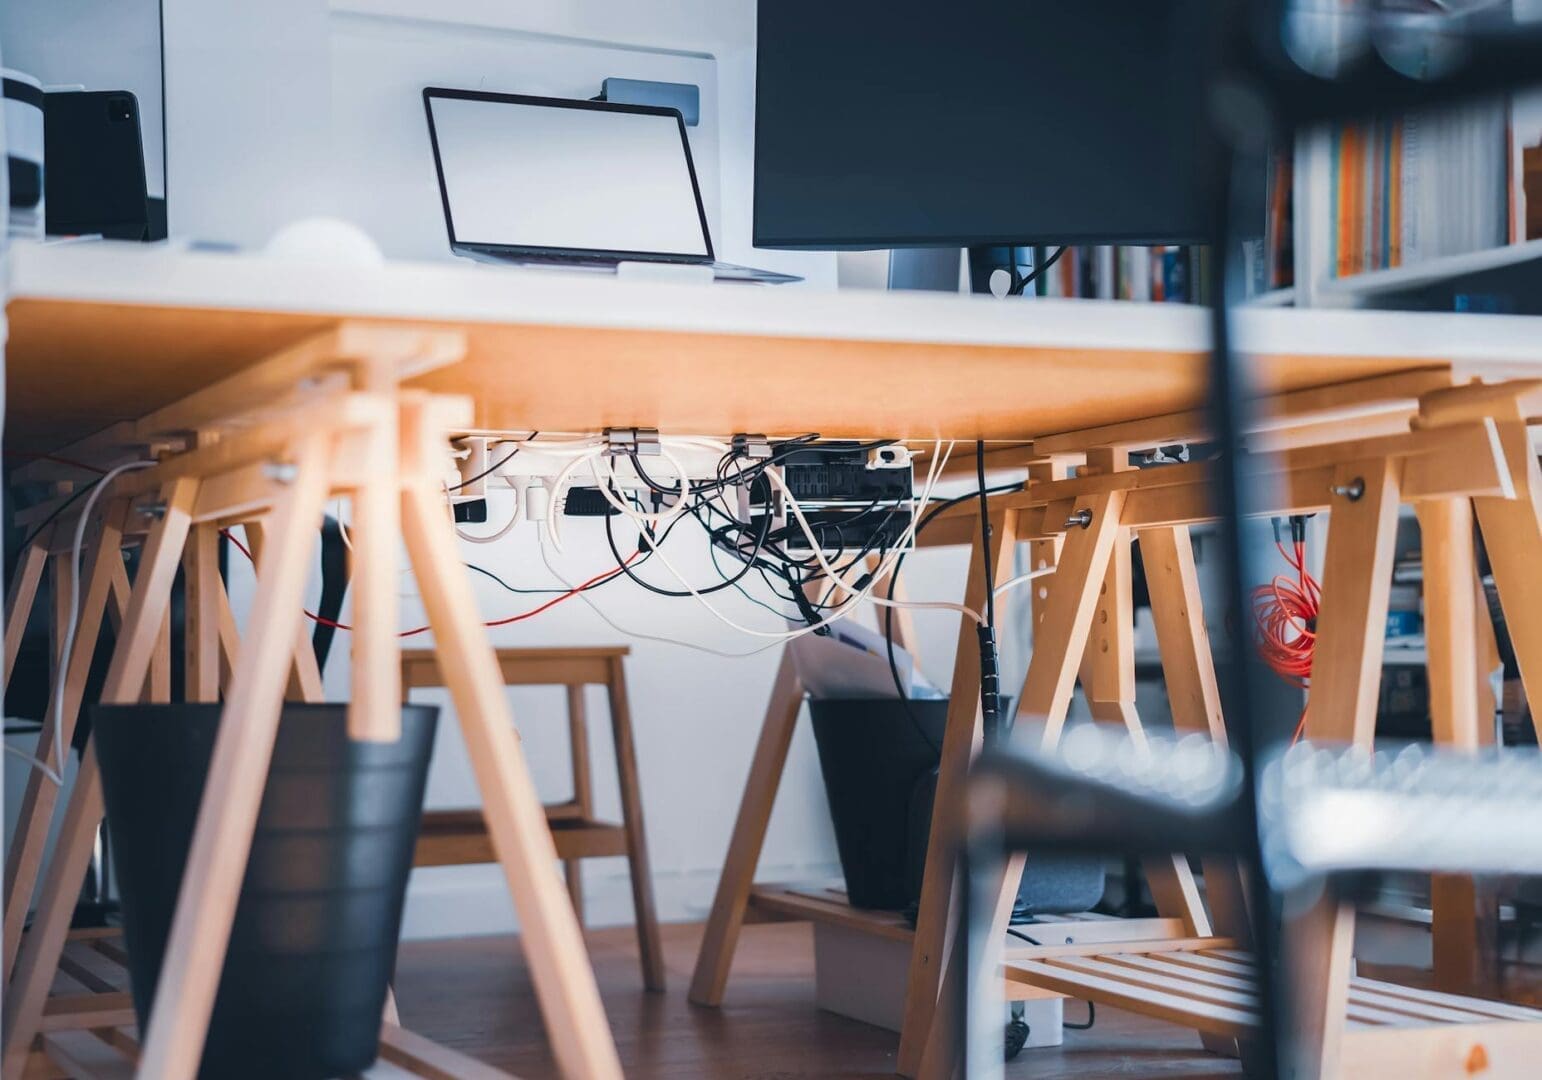
The biggest cable management mistake is trying to organize cords on top of your desk. Most of that mess should live underneath, out of sight. Cable trays and under-desk baskets mount to the underside of your work surface and corral power strips along with excess cord length. Wire mesh trays run $15-30 and work for most desks, while J-channel raceways ($20-40) offer a sleeker look for glass or minimal desks.
Mount your power strip to the underside of your desk using adhesive clips or the cable tray itself. This keeps it accessible but hidden, and prevents that awful moment when you kick the power strip and everything shuts off. Route all your device cords through the tray, leaving just enough length to reach your laptop, monitor, or desk lamp comfortably.
If your desk has a grommet hole, use it—but don’t just shove cables through. Add a grommet insert with a brush opening or flexible rubber sleeve to keep cords organized as they pass from below to above. These cost $10-20 and make a surprising difference in the finished look.
Keep What You See Under Control
For the cables that must live on your desktop—your laptop charger, phone cable, headphone cord—the right holders make all the difference. Adhesive cable clips ($8-15 for a pack) stick to your desk edge and hold individual cords in place, so they don’t slide onto the floor when you unplug. Silicone cable drops work similarly and look cleaner on modern desks.
Weighted cable organizers sit on your desk surface and thread cables through channels or slots. These work beautifully for items you plug and unplug frequently, like phone chargers. Expect to spend $12-25 for versions in wood, stone, or metal that actually complement your desk rather than screaming “plastic gadget.”
For longer runs—say, from your desk to a lamp on a credenza—consider adhesive cable channels or cord covers. These plastic tracks stick along baseboards or desk legs and hide cords completely. A basic white channel runs $10-15 for six feet, while wood-grain or paintable versions cost $20-30.
Choose the Right Tools for Your Setup
Not every desk needs the same solution. A simple writing desk with just a laptop and lamp can get by with a few cable clips and a small adhesive-mount power strip holder. A full gaming or production setup with multiple monitors, speakers, microphone, and peripherals needs the works: under-desk tray, cable sleeves to bundle related cords together, and possibly a monitor arm with integrated cable management.
Cable sleeves—fabric or neoprene tubes that bundle multiple cords—cost $10-20 and work wonders when you have several cables running the same direction. They’re especially helpful from your desk down to the wall outlet, creating one clean line instead of six individual cords.
Velcro cable ties (not zip ties) let you bundle excess cord length without creating permanent commitments. Buy a 30-foot roll for $8-12 and cut pieces as needed. This matters more than you’d think when you inevitably rearrange your desk or swap equipment.
Make It Actually Work
Here’s the truth about cable management: you need to leave some slack. Pulling everything tight looks clean for about a week, until you need to move your laptop two inches or adjust your monitor. Leave enough give that you can use your equipment normally without tugging on connections.
Label your cords where they plug into the power strip. A simple label maker ($20-30) or even masking tape and a marker saves you from unplugging the wrong thing when you need to add a device. This isn’t about aesthetics—it’s about not having to crawl under your desk with a flashlight every time you rearrange something.
The best cable management setup is one you’ll actually maintain. If threading cables through tiny clips makes you never want to plug anything in, you’ll abandon the system. Choose solutions that match how you actually work, not Instagram perfection that requires dismantling everything to charge your tablet.
A clean desk starts underneath, uses the minimum number of visible organizers that actually work, and gives you room to adapt when your setup changes. Take an hour to get it right, and you’ll have a workspace that finally looks as good as you meant it to when you bought that desk.
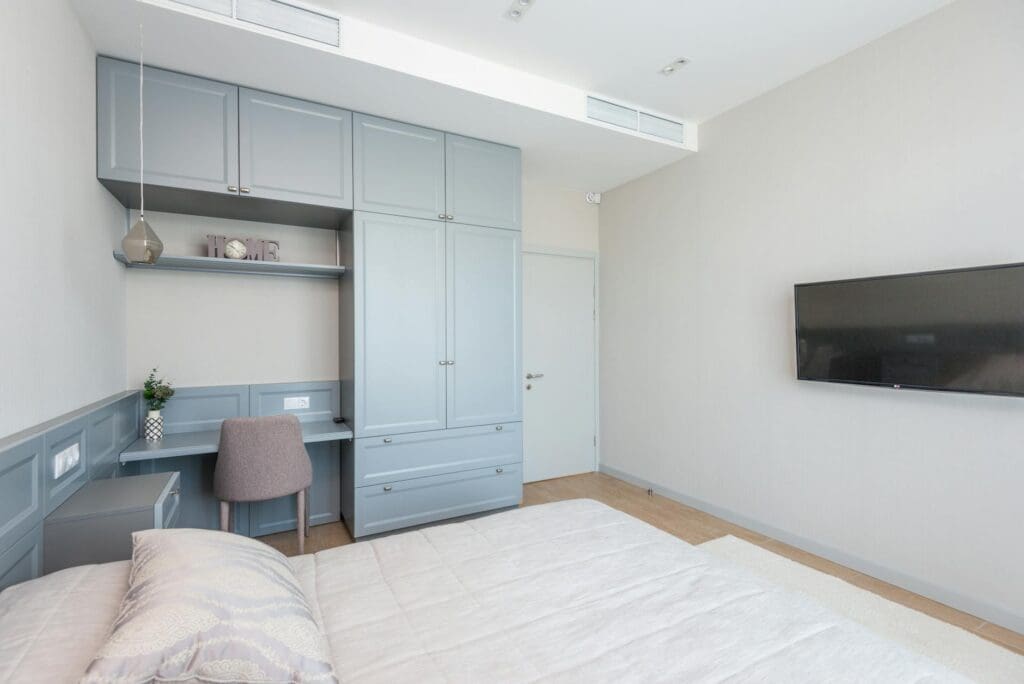
Your home office deserves better than a jumble of mismatched shelves and that filing cabinet you’ve been meaning to replace. A storage wall unit can transform your workspace from chaotic to composed, giving you dedicated spots for books, supplies, tech equipment, and all those things that currently live in piles. The trick is finding one […]
If you’re drowning in papers, sticky notes, and file folders that haven’t been touched in months, you’re not alone. The promise of a paper-free office isn’t just about going digital—it’s about choosing furniture and storage solutions that support a cleaner, more organized way of working. The right setup makes it easier to maintain that clutter-free […]
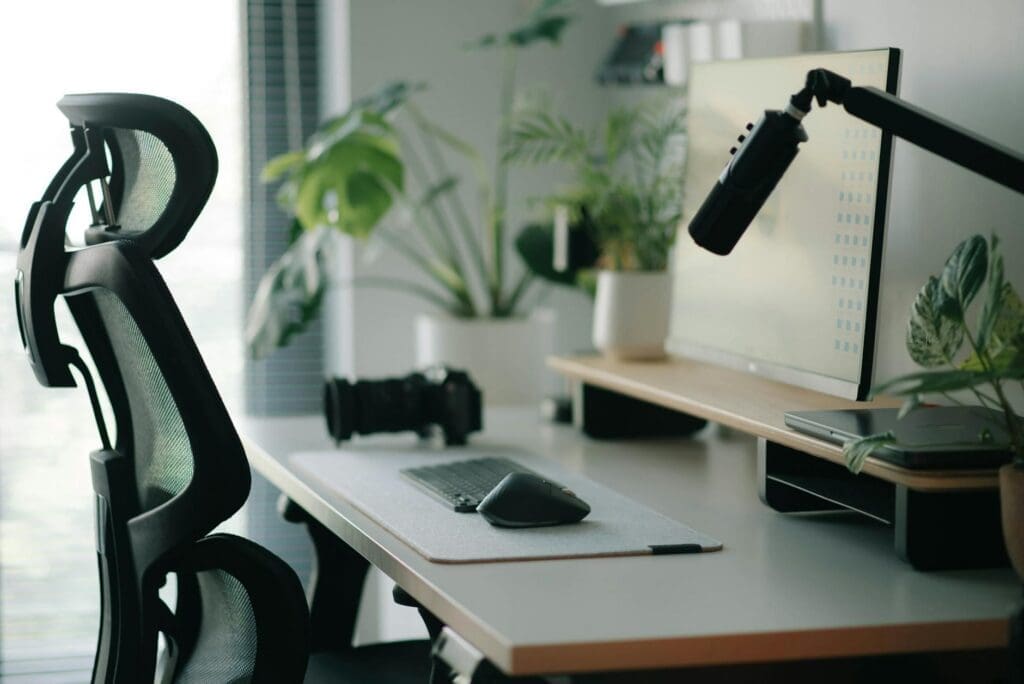
Your back is telling you it’s time. After months of working from home in a dining chair or that hand-me-down seat from college, you’re ready to invest in a proper office chair. The good news? You don’t need to spend $800 on a Herman Miller to get real ergonomic support. The under-$300 market is packed […]