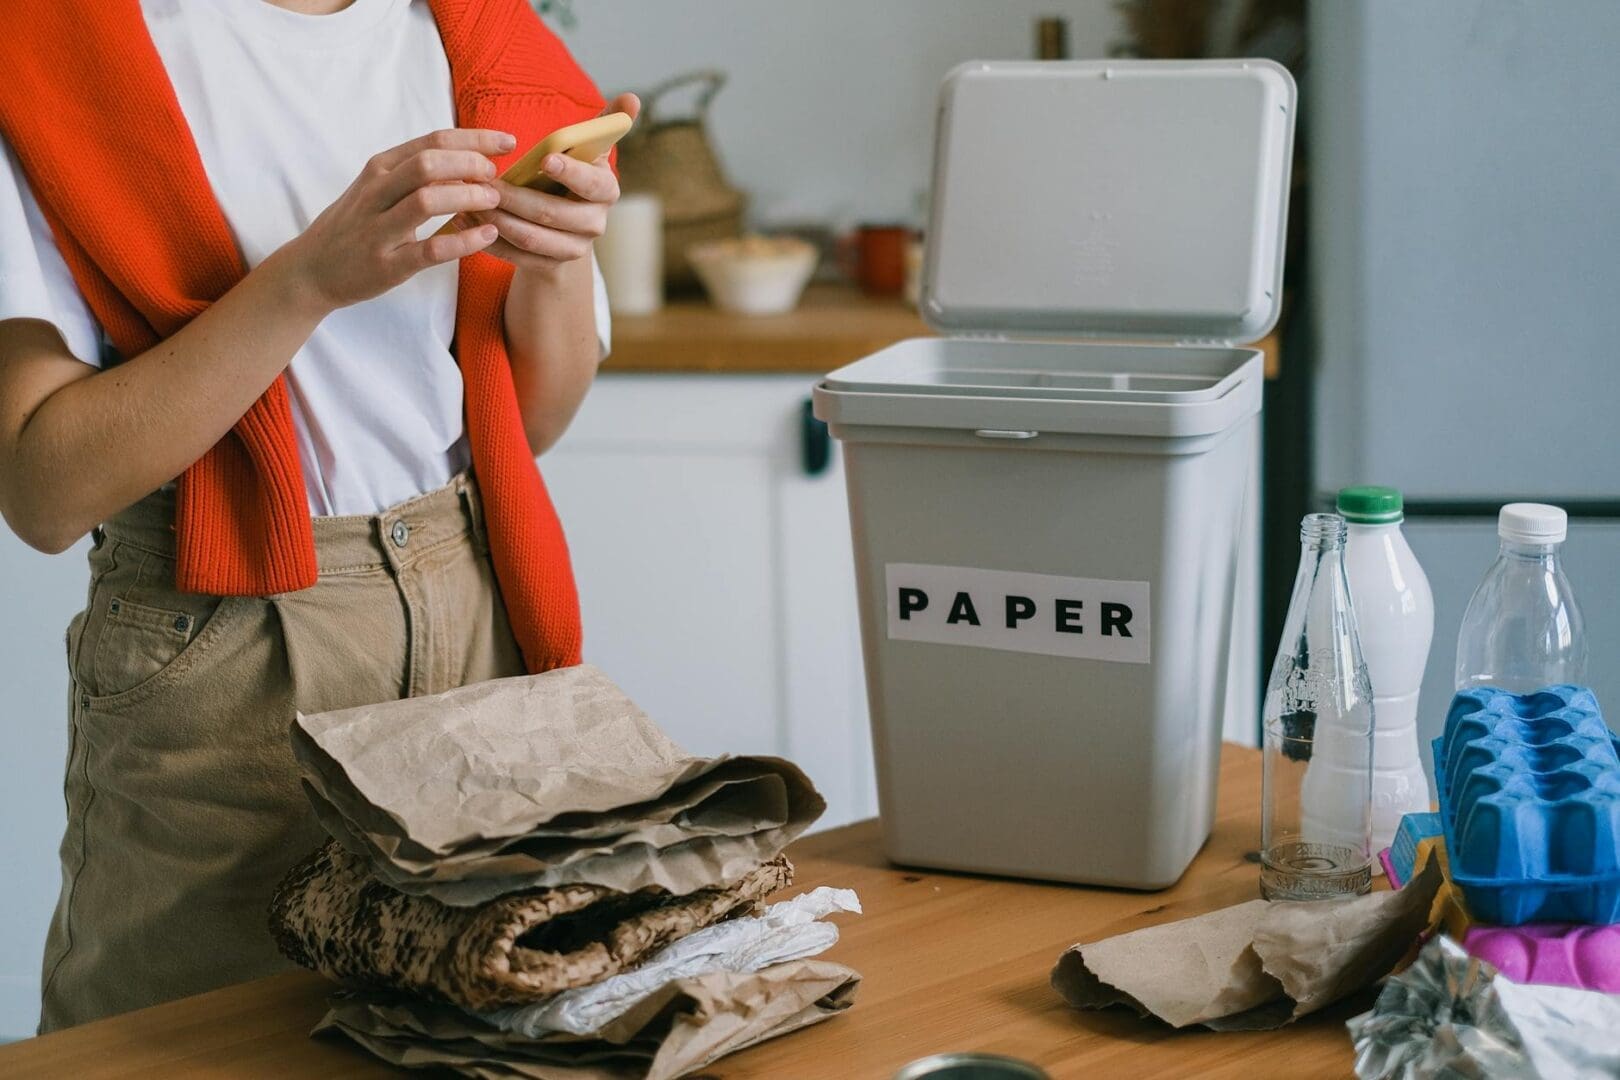
We all know we should recycle more, but let’s be honest—when your recycling setup is a messy pile of bins in the corner or a confusing system no one else in the house understands, it’s easy to let everything slide into the trash. A well-designed recycling station makes the whole process effortless, which means you’ll actually use it. Here’s how to create one that fits your space and keeps your household on track.
Choose the Right Location for Your Station
The best recycling station is one you’ll actually use, and that starts with placement. Your kitchen is usually the ideal spot since most recyclables—bottles, cans, food packaging—come through there. Look for unused space near your trash can, under the sink, in a pantry, or tucked into a cabinet.
If your kitchen is tight on space, consider the garage, mudroom, or laundry room as your main sorting area. Just keep a small collection bin in the kitchen to transfer items throughout the day. The key is minimizing the steps between “I have a recyclable” and “it’s in the right bin.” The more convenient your system, the more likely everyone will follow it.
Select Bins That Match Your Recycling Needs
Not all homes need the same setup. Check your local recycling guidelines first—some areas require separated materials (paper, plastic, glass), while others accept single-stream recycling where everything goes together.
For single-stream recycling, a simple two-bin system works beautifully: one for trash, one for recyclables. Look for bins in the 13-16 gallon range that fit side-by-side. Budget-friendly options start around $15-30 per bin, while stainless steel or touchless models run $60-150 each.
If you need to separate materials, consider a three or four-compartment sorter. Stackable bins save floor space and typically cost $40-80 for a set. Pull-out cabinet systems are pricier at $100-300 but hide everything behind closed doors—perfect if you want a cleaner look. Features worth considering include:
Removable inner buckets for easy emptying
Odor-sealing lids for items that sit a few days
Clear labeling areas or color-coding options
Wheels or handles for mobility
Slim profiles that fit in narrow spaces
Make Your System Easy for Everyone to Use
The fanciest recycling station fails if your family can’t figure it out. Clear labeling is everything. Use large, simple labels or picture guides showing what goes where—especially helpful for kids or guests. Chalkboard labels let you update categories as rules change.
Color-coding helps too. Assign each bin a color and use matching liners or labels. Blue for recyclables is fairly universal, but create whatever system makes sense for your household.
Keep your station well-lit. If it’s tucked in a dark cabinet or garage corner, people will default to the easier option (usually the trash can). Battery-powered LED lights or motion-sensor strips cost $10-25 and make a surprising difference.
Size your bins appropriately for how often you empty them. Too small means constant overflow and mess. Too large means bins sit half-empty forever, taking up valuable space you could use better.
Add Storage for Extras and Special Items
A complete recycling station includes a spot for items that need special handling. Consider adding small containers or hooks for:
Plastic bags (many grocery stores accept these for recycling)
Batteries in a sealed container
E-waste like old phones or cables
Items to donate rather than trash
A wall-mounted shelf above your bins or a small caddy alongside them keeps these extras organized without requiring additional floor space. Floating shelves run $15-40, while compact storage caddies cost $10-30.
Setting up a proper recycling station takes a bit of planning, but once it’s in place, the daily routine becomes automatic. Start with bins that fit your space and match your area’s recycling requirements, position everything in a convenient location, and label clearly so everyone knows what goes where. Your new system will quickly pay for itself in reduced waste and the satisfaction of knowing you’re making it easy to do the right thing.
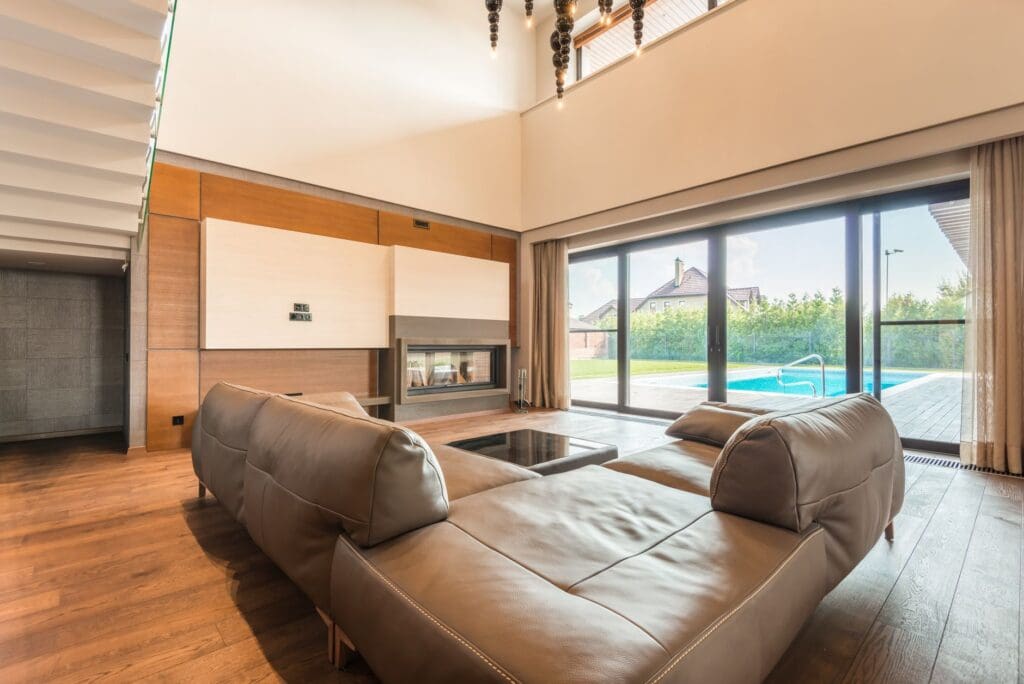
There’s nothing quite like settling in for movie night at home, but harsh overhead lighting can ruin the whole experience. Too bright, and you’re squinting at a washed-out screen. Too dark, and you’re fumbling for the remote or straining your eyes. Getting your living room lighting right for movie watching isn’t complicated—it just takes the […]
You probably reach for your phone to change the temperature, lock your doors, or check who’s at the front door—so why are you still walking across the room to flip light switches? Smart lighting transforms your living room from a space with basic on-off switches into one that adapts to movie nights, dinner parties, reading […]
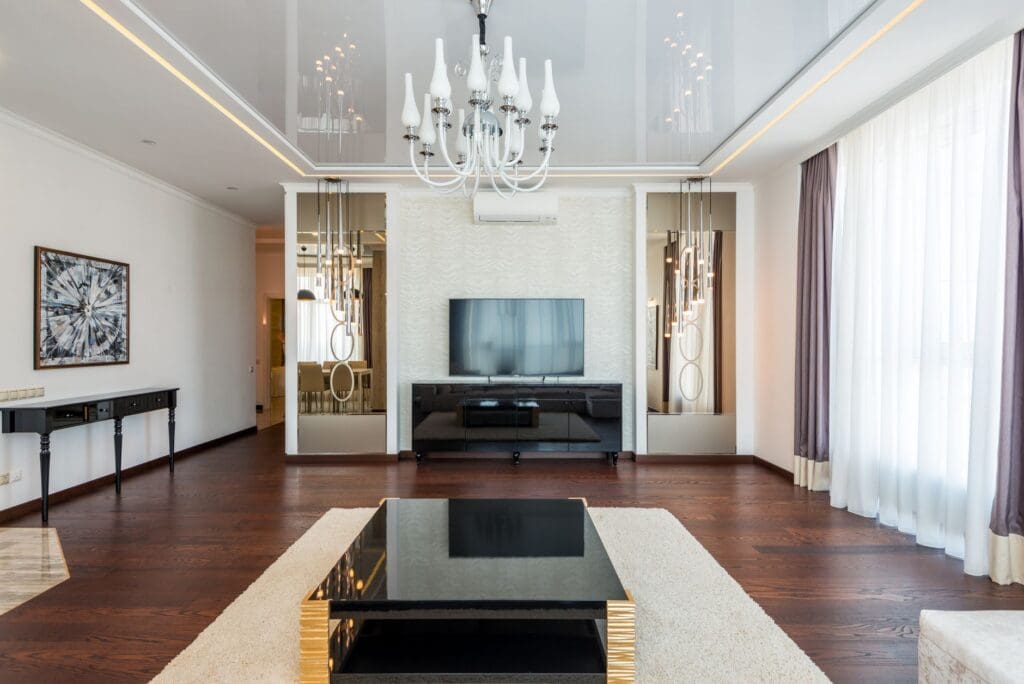
A chandelier can transform your living room from ordinary to unforgettable, but choosing the wrong size or style can throw off your entire space. Unlike task lighting that quietly does its job, a chandelier makes a statement—which means getting it right matters. Whether you’re working with vaulted ceilings or a cozy 10×12 room, here’s how […]