You’ve been dreaming of hosting summer cookouts and al fresco dinners in your own backyard, but the price tags on full outdoor kitchen setups can be shocking. The good news? You don’t need to spend $10,000 or more to create a functional, attractive outdoor cooking space. With some strategic planning and smart compromises, you can build an outdoor kitchen that fits your lifestyle and your wallet.
Start With the Essential Cooking Equipment
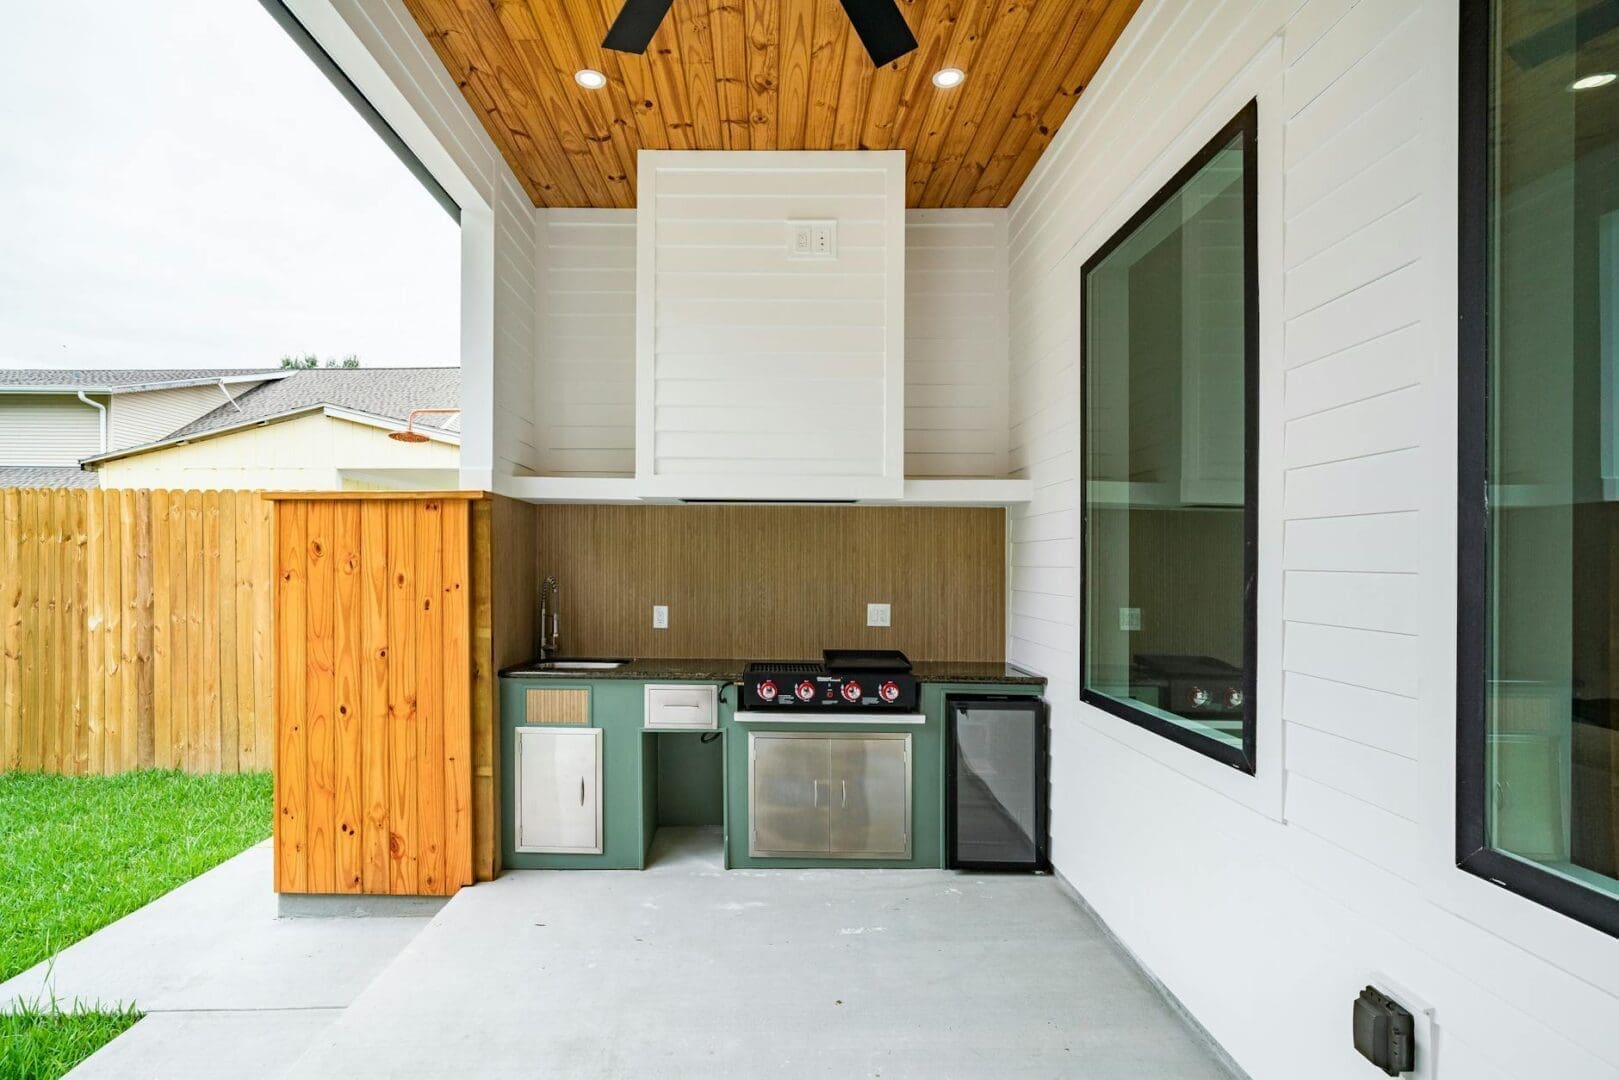
Your grill is the heart of any outdoor kitchen, so this is where you’ll want to invest the bulk of your initial budget. A quality gas grill in the $300-$600 range will serve you far better than a cheap model that rusts out in two seasons. Look for stainless steel burners, cast-iron grates, and at least 400 square inches of cooking space if you regularly entertain.
If you’re truly watching every dollar, a basic charcoal kettle grill ($100-$200) delivers excellent results and that authentic smoky flavor many prefer. You can always upgrade later once you’ve figured out exactly how you use your outdoor space.
Skip the built-in grill island for now. Freestanding grills offer flexibility to rearrange your layout and won’t trap you into a permanent (and expensive) configuration. You can always add a surround structure down the road if you want that built-in look.
Create Counter Space Without Custom Construction
This is where most people overspend, but there are surprisingly affordable alternatives to custom stonework. A weather-resistant rolling cart with a stainless steel or bamboo top ($150-$400) provides valuable prep space and storage underneath. Many include hooks for utensils and towel bars.
For a more permanent solution, consider a simple DIY approach: concrete blocks or pressure-treated lumber as a base, topped with outdoor-rated tile or a concrete countertop you pour yourself. Total materials often run under $500, compared to $2,000+ for professional masonry work.
Repurposed furniture can work beautifully too. An old dresser painted with outdoor paint and sealed becomes charming storage. A weathered wooden table adds rustic prep space. Metal baker’s racks ($80-$150) offer both shelving and a small work surface while maintaining an open, airy feel.
Smart Storage and Organization Solutions
You’ll need somewhere to stash grilling tools, plates, seasonings, and cleaning supplies. Rather than expensive outdoor cabinetry ($500-$1,500 per cabinet), think creatively:
Plastic deck boxes ($60-$150) keep cushions, charcoal, and other supplies dry and protected
Wall-mounted tool racks and magnetic knife strips ($20-$50) maximize vertical space
Galvanized metal buckets and baskets add farmhouse charm while organizing utensils
A small outdoor shelving unit ($100-$200) with weatherproof coating stores dishes and glassware
If you’re handy, building simple open shelving with treated lumber costs under $100 in materials. Add some weatherproof curtains below for concealed storage that won’t break the bank.
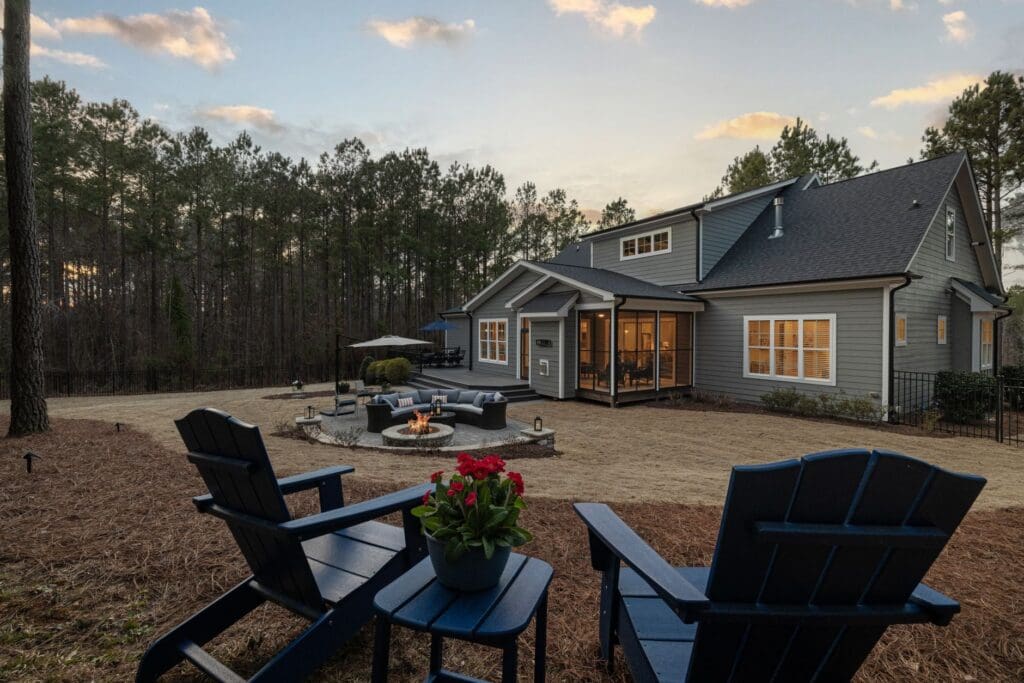
Seating and Dining Areas That Don’t Break the Bank
Your outdoor kitchen needs a place for guests to gather, but patio furniture prices have climbed significantly. A simple picnic table ($150-$300) fits the casual outdoor vibe perfectly and seats six to eight people comfortably.
For a more refined look, mix and match affordable pieces: a basic dining table ($200-$400) paired with stackable metal chairs ($30-$60 each) creates flexibility without the $1,500+ price tag of matching sets. You can always dress them up with outdoor cushions and tablecloths.
Bar-height seating near your grill makes conversation easy while you cook. Simple metal stools ($40-$80 each) work great, and you can find weather-resistant options that’ll last for years. A small high-top table or bar cart gives guests a place to set drinks while keeping them out of your prep zone.
Creating an outdoor kitchen is really about prioritizing what matters most to how you’ll actually use the space. Start with quality cooking equipment, add functional work surfaces using creative solutions, and furnish it simply. You can always enhance and upgrade over time as your budget allows. The goal is to get cooking outdoors this season, not to achieve magazine-perfect perfection before you flip your first burger.
There’s something wonderfully ironic about the Adirondack chair’s origin story. Back in 1903, Thomas Lee was vacationing in Westport, New York, frustrated by the lack of comfortable outdoor seating that could handle the sloped terrain of his property. So he built a wide-backed, slatted chair with a reclined seat—and accidentally created an icon. Today, you’ll […]
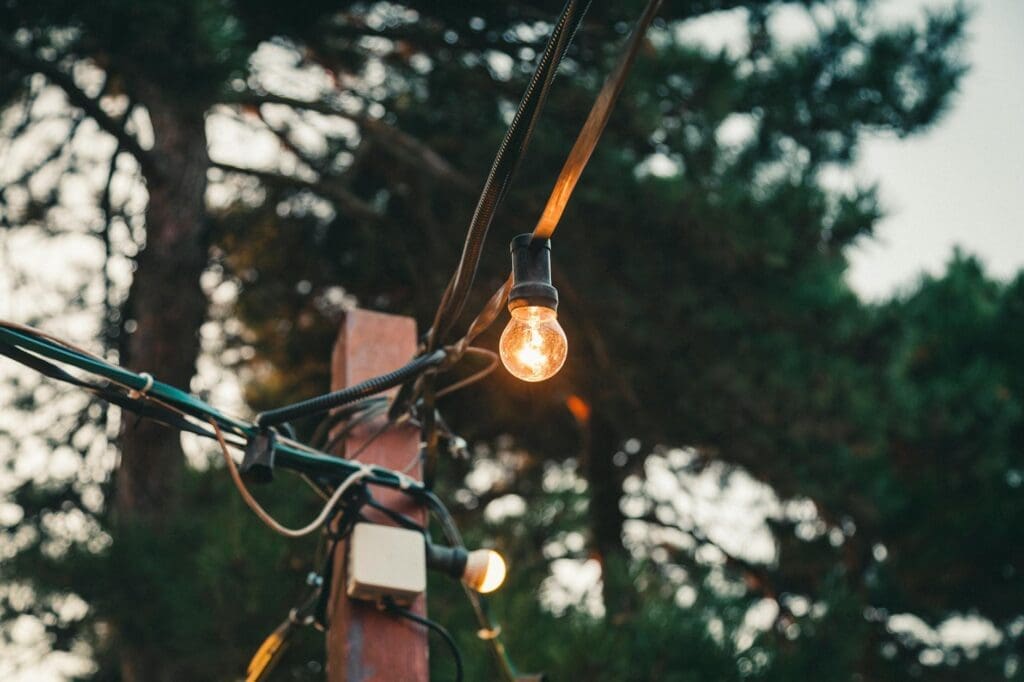
A dark backyard feels smaller, less usable, and honestly a bit uninviting once the sun goes down. Whether you’re trying to make your outdoor space safer, extend your entertaining hours, or simply discourage unwanted visitors, the right flood lights can completely transform how you use your yard after dark. The challenge is figuring out which […]
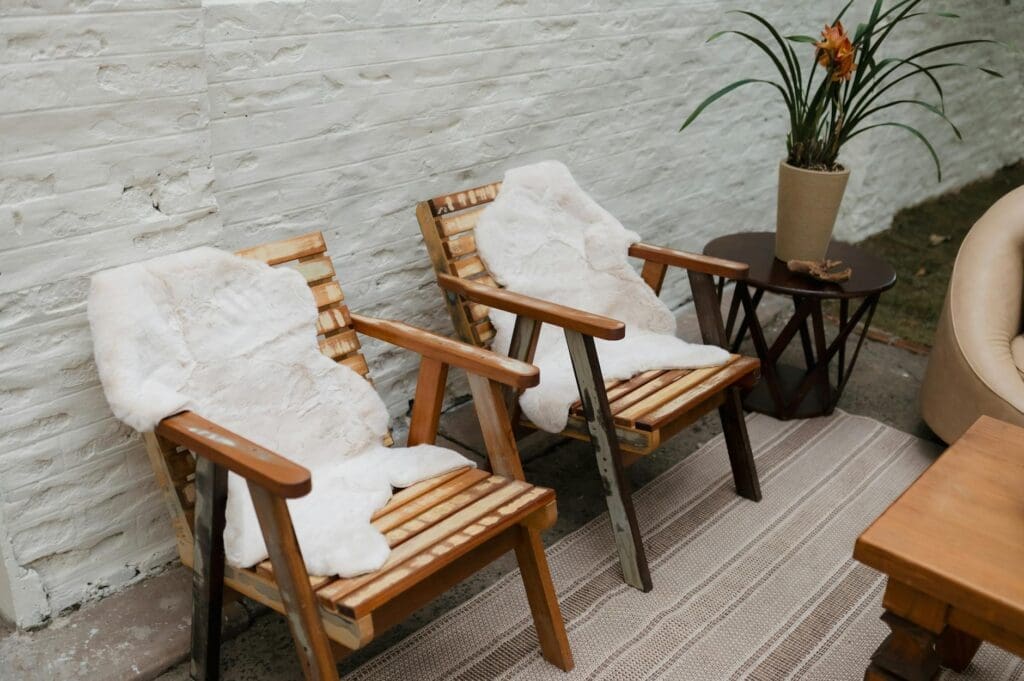
You’ve found the perfect outdoor rug to tie your patio together, but three months later it’s faded, mildewed, or falling apart. Sound familiar? The material makes all the difference when it comes to outdoor rugs that actually last. Unlike indoor rugs that live cushy lives away from the elements, your outdoor rug needs to handle […]