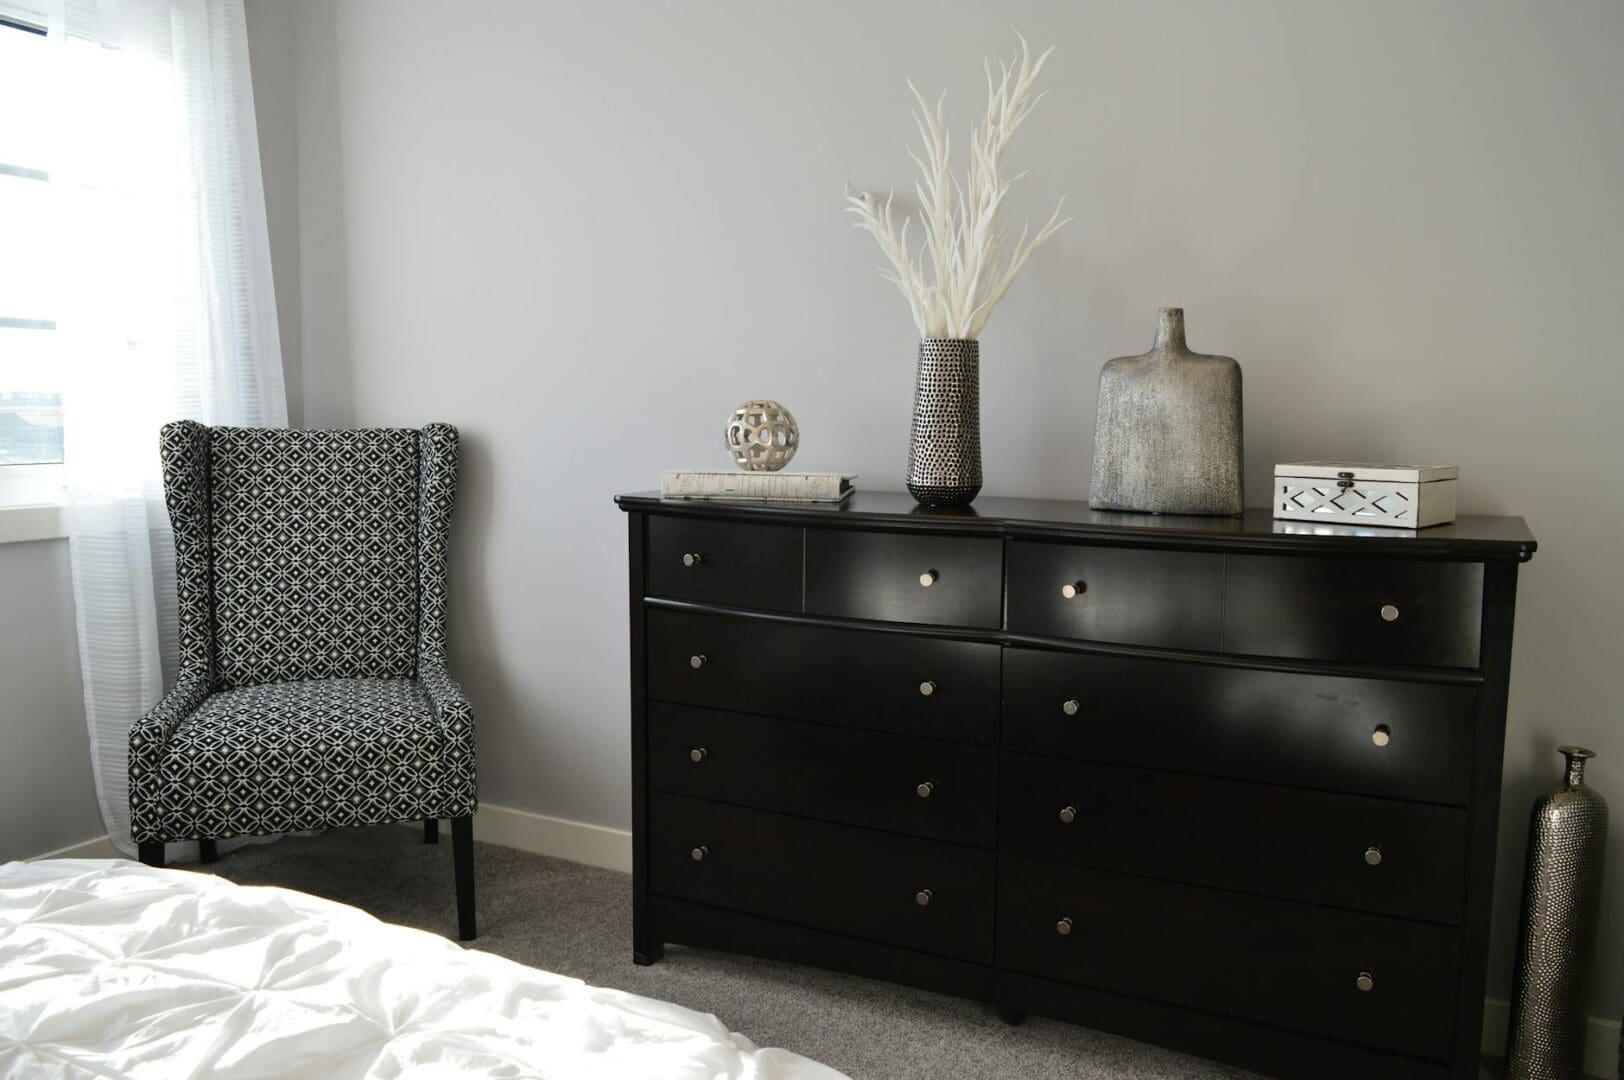
You’ve found a solid wood dresser with good bones—maybe it’s a hand-me-down, a thrift store score, or just a piece in your home that needs new life. The finish is dated or damaged, but the thought of spending hours with chemical strippers and steel wool makes you want to abandon the whole project. Here’s the good news: you don’t always need to strip furniture down to bare wood to get beautiful results.
Refinishing without stripping saves time, reduces mess, and can give you a professional-looking finish if you follow the right steps. Let’s walk through exactly how to do it.
When You Can Skip the Stripping Step
Not every piece is a candidate for this shortcut method. Your dresser needs a finish that’s relatively intact—meaning no thick, peeling layers or deep alligator cracks. Minor surface scratches, water rings, and dull or dated color are all fine. You’re essentially creating a new surface over the old one, so whatever’s underneath needs to be stable.
This approach works beautifully if you’re painting the piece. If you want to restain it to show the wood grain, you’ll need the old finish mostly sanded away, though still not fully stripped. Painted finishes are more forgiving and hide a multitude of imperfections, making them the easier route for beginners.
The Prep Work That Makes or Breaks Your Results
Clean the dresser thoroughly with a degreaser or TSP substitute—furniture polish, cooking grease, and general grime prevent paint and primer from sticking. Remove all hardware and drawers, and work in a well-ventilated space with a drop cloth underneath.
Next comes sanding, which is non-negotiable. Use 150-grit sandpaper to scuff up the entire surface. You’re not removing the finish—just roughing it up so your primer has something to grip. Focus on creating an even, matte texture. Any glossy spots will cause adhesion problems later. After sanding, wipe everything down with a tack cloth or slightly damp microfiber cloth to remove all dust.
Fill any gouges or dents with wood filler, let it dry completely, then sand those spots smooth. This is also the time to tighten any loose joints or make minor repairs.
Choosing Your Primer and Paint
A bonding primer is your secret weapon here. Products like Zinsser B-I-N or Kilz Adhesion Primer are designed to stick to glossy, previously finished surfaces. Don’t skip this step or substitute regular primer—bonding primers contain special resins that create a bridge between the old finish and your new paint.
For paint, you have several good options. Chalk paint is popular because it requires minimal prep and gives a matte, vintage look, though it needs a protective topcoat. Regular latex paint in a satin or semi-gloss finish is more durable for high-use pieces like dressers. Oil-based paints offer the most durable finish but require mineral spirits for cleanup and longer drying times.
Budget-friendly options start around $25-40 for primer and paint combined if you’re using quality latex products. Chalk paint runs $35-40 per quart. Plan on two coats of primer and two to three coats of paint for full coverage.
Application Techniques for a Smooth Finish
Use a high-density foam roller for large flat surfaces and a quality angled brush for details and edges. Foam rollers create the smoothest finish with minimal texture. Apply thin, even coats rather than trying to get full coverage in one pass—thick coats lead to drips and a gummy texture.
Let each coat dry completely before adding the next. Light sanding with 220-grit sandpaper between coats (except with chalk paint) removes any dust bumps and helps subsequent layers adhere better. Just a quick once-over is all you need.
For painted finishes, seal with a clear polyurethane or polycrylic topcoat in your preferred sheen. This adds durability and makes the surface easier to clean. Water-based polycrylic won’t yellow over time, making it ideal for white or light-colored pieces.
The whole process takes several days when you account for drying time, but your active work time is just a few hours. You’ll end up with a custom piece that looks intentional and expensive—not like a cover-up job. The best part? You avoided the mess and fumes of chemical strippers while still transforming a tired dresser into something you’re proud to display.
Shopping for a bunk bed mattress isn’t quite the same as choosing one for a standard bed frame. The biggest difference? Safety requirements. The wrong mattress thickness can create a dangerous gap between the sleeping surface and the guardrails, and not every mattress type holds up well on a slatted bunk bed platform. Here’s what […]
That empty corner in your bedroom has potential. You walk past it every day thinking it could be something more—a spot to read before bed, sip your morning coffee, or just escape for a few quiet minutes. A reading chair can transform that awkward space into your favorite corner of the house, but only if […]
If you’ve been tossing and turning on an old mattress, you already know it’s time for a change. But walk into any mattress store or browse online, and you’re immediately hit with the big question: memory foam or innerspring? Both have passionate fans, and honestly, both can give you great sleep. The real answer depends […]