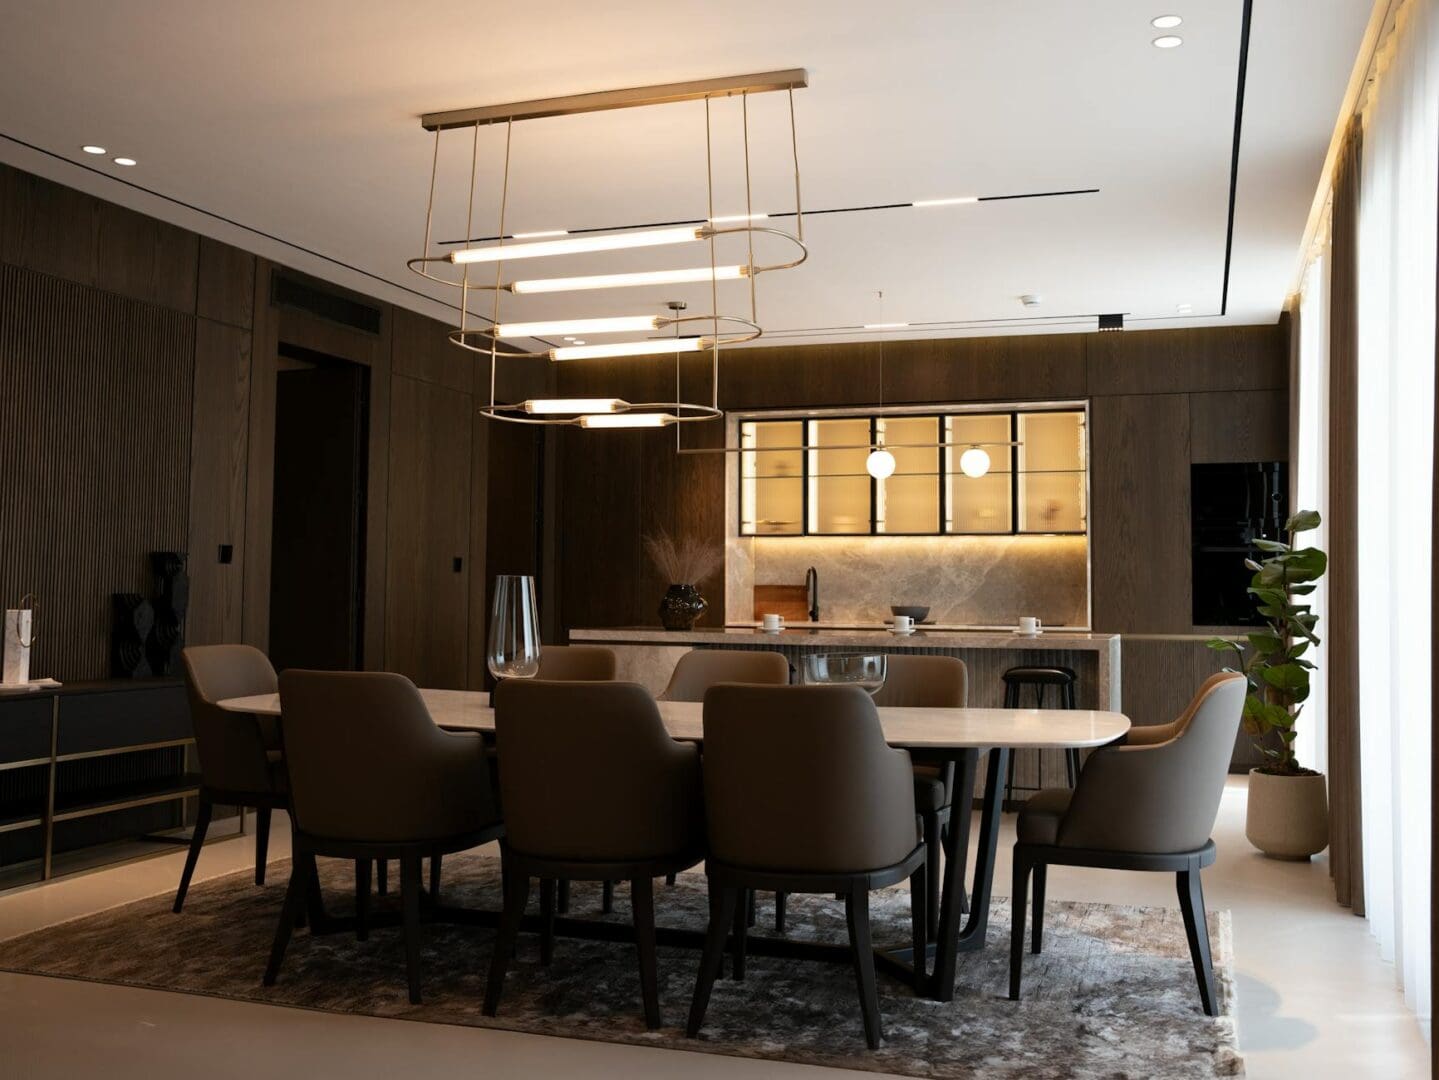
There’s something magical about adjusting the lighting in your dining room to match the moment—bright and energizing for weekday breakfasts, soft and intimate for dinner parties. If you’re stuck with an all-or-nothing light switch, adding a dimmer can transform how you use and enjoy your dining space. The good news? It’s one of the most impactful upgrades you can make, and it’s more straightforward than you might think.
Understanding Dimmer Switch Types
Not all dimmers are created equal, and choosing the right one depends on your light fixture and bulbs. Traditional rotary dimmers ($15-25) are the simplest option—just twist to adjust brightness. Slide dimmers ($20-35) give you a slider control and often include an on/off toggle. For a more modern look, digital or smart dimmers ($45-150) offer preset scenes, remote control, and integration with home automation systems.
The most important consideration is compatibility with your bulbs. Incandescent bulbs work with standard dimmers, but LED and CFL bulbs require specific LED-compatible dimmers. Using the wrong dimmer with LED bulbs causes flickering, buzzing, or limited dimming range. Check your bulb packaging and match it to a compatible dimmer—most manufacturers clearly label LED-rated models. If you have a chandelier or fixture with multiple bulbs, make sure your dimmer can handle the total wattage. Add up all the bulbs and choose a dimmer rated for at least 20% more than your total.
Checking Your Current Setup
Before you buy anything, take a look at your existing switch. Single-pole switches (the most common type) control one light from one location and are the easiest to replace with a dimmer. Three-way switches control a light from two different locations—like entries at opposite ends of a dining room. These require special three-way dimmers, and you’ll typically install the dimmer at one location and keep a standard three-way switch at the other.
Open your switch plate and peek inside the electrical box. You’ll need enough space to fit the dimmer, which is slightly larger than a standard switch. Most dimmers also require a neutral wire (usually white), though some newer models don’t. If you see just two wires plus a ground connected to your current switch, you might need a no-neutral dimmer or have an electrician add a neutral wire. This is especially common in older homes.
Installation Basics and When to Call a Pro
If you’re comfortable with basic electrical work and your home’s wiring is straightforward, installing a dimmer is a manageable DIY project. You’ll need a voltage tester, wire strippers, and a screwdriver. Always turn off the circuit breaker before touching any wiring—this isn’t optional. Test with your voltage tester to confirm the power is actually off.
The basic process involves removing your old switch, connecting the dimmer’s wires to your existing wiring (following the included instructions carefully), tucking everything into the box, and attaching the dimmer to the wall. Most dimmers come with wire connectors and detailed diagrams that make the process straightforward.
That said, hire an electrician if you’re dealing with three-way switches, aluminum wiring, or if you open the box and the wiring looks confusing or damaged. A professional installation typically costs $100-200, which is worth it for peace of mind and safety. Some smart dimmer manufacturers offer installation services or can recommend certified installers.
Maximizing Your Dimming Experience
Once your dimmer is installed, you might need to fine-tune things. Many modern dimmers let you adjust the minimum and maximum brightness levels, which prevents flickering at low settings and ensures your fixture can fully brighten. Quality LED bulbs make a noticeable difference in dimming performance—budget LEDs often have a limited dimming range or color shift as they dim.
Consider the color temperature of your bulbs too. Warm white (2700K) bulbs create a cozy, restaurant-like ambiance when dimmed, while cooler temperatures can feel harsh at full brightness and dingy when dimmed. For dining rooms, warm white or soft white bulbs almost always look best.
Adding a dimmer to your dining room light genuinely changes how you use the space. You’ll find yourself adjusting the lighting throughout the day without even thinking about it. Whether you tackle the installation yourself or bring in a pro, it’s a relatively quick upgrade that makes your dining room work harder for you. The key is matching the right dimmer to your bulbs and fixture, and making sure your wiring supports the installation.
Did You Know? The Declaration of Independence Was Likely Written in a Windsor Chair As America celebrates 250 years of independence, it’s worth looking at one of the quieter witnesses to that history: the humble Windsor chair. Thomas Jefferson is said to have drafted the Declaration of Independence while seated in an unusual revolving Windsor […]
Shopping for a dining table when you have a family of six means you need something that works for Tuesday night homework sessions, weekend pancake breakfasts, and holiday dinners with grandparents—all without taking over your entire dining room. The right table makes family life easier. The wrong one? You’ll feel it every single day. Let’s […]
If you’re working with a compact dining area, you’ve probably already discovered that square and rectangular tables can feel like furniture Tetris. Round dining tables are often the smartest solution for small spaces—they eliminate sharp corners that eat up valuable square footage, create better traffic flow, and somehow make a room feel more spacious even […]