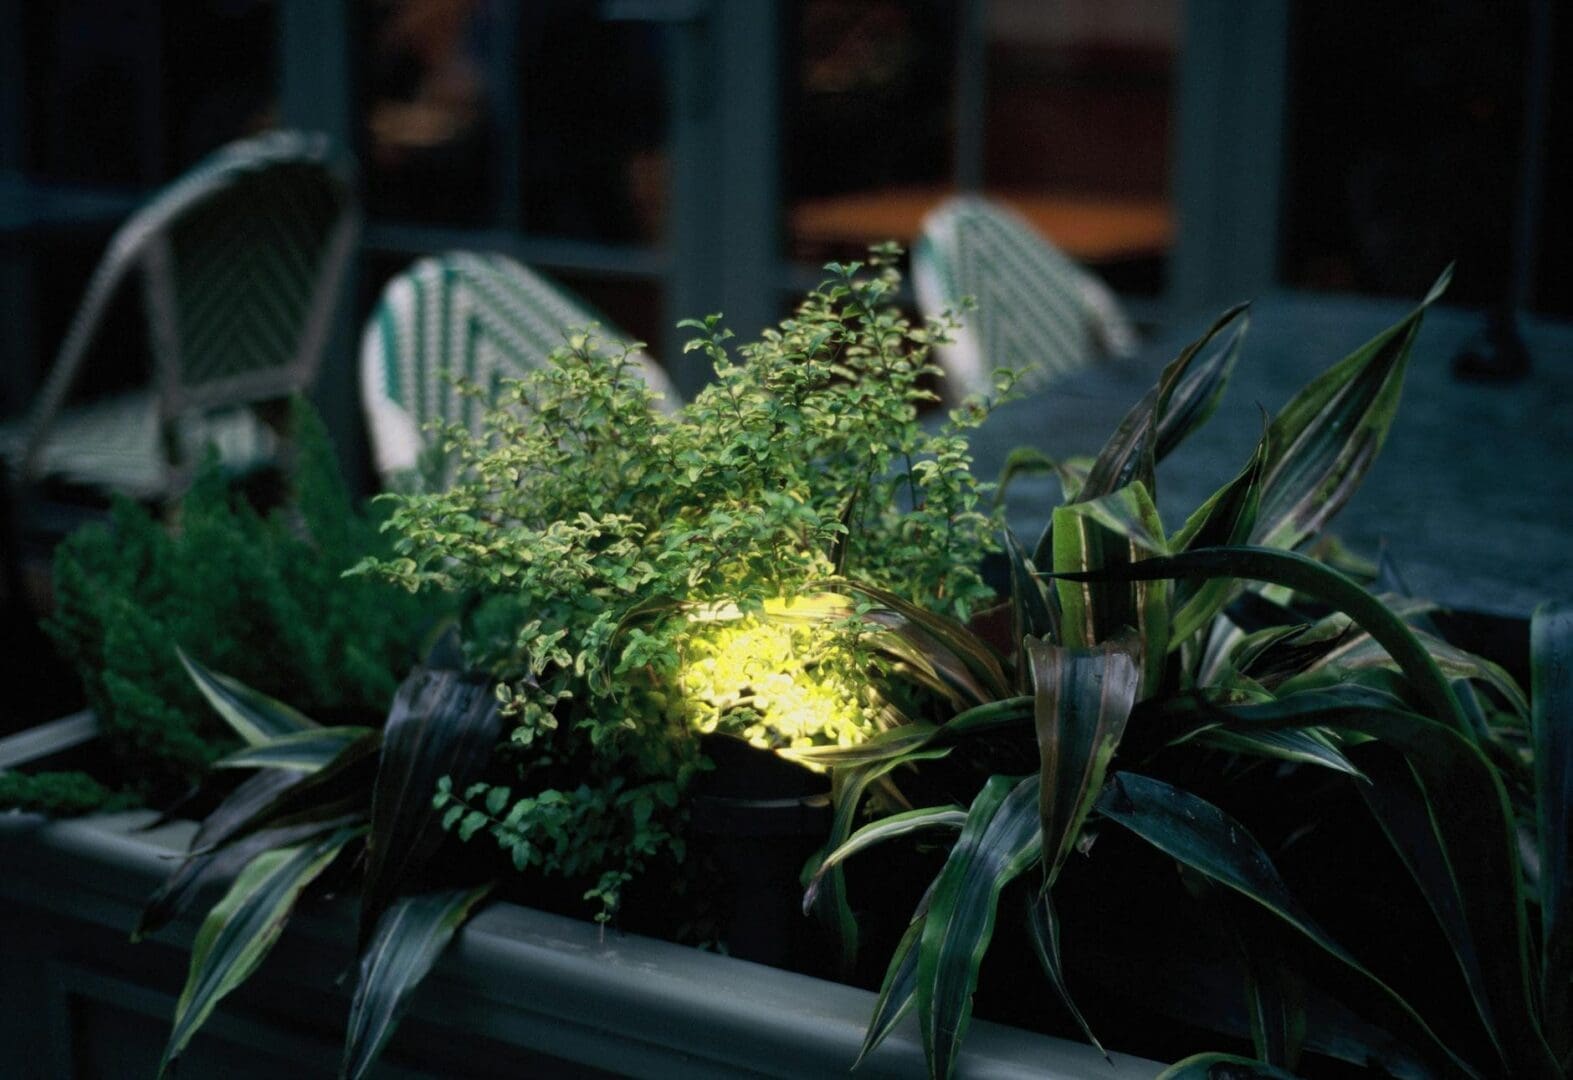
There’s nothing quite like the ambiance of well-placed outdoor lighting—until the first rainstorm hits and your carefully planned landscape lights start flickering or fail completely. If you’ve invested in outdoor lighting for your patio, pathways, or garden, protecting those electrical connections from moisture isn’t optional. It’s the difference between lighting that lasts for years and constant troubleshooting every time the weather turns.
The good news? Waterproofing outdoor lighting connections is straightforward once you understand what materials work and where water typically sneaks in. Let’s walk through exactly what you need to know.
Understanding Where Water Gets In
Before you start sealing connections, it helps to know your enemy. Water infiltrates outdoor lighting systems through wire connections, fixture junction boxes, and anywhere two components meet. Even “weatherproof” fixtures have vulnerable points where wires connect to the power source or link multiple lights together.
The most common trouble spots are wire splices and connections between low-voltage transformers and light strings. These connection points naturally create small gaps where moisture can collect, especially in ground-level or buried applications. Condensation is another culprit—temperature changes cause moisture to form inside junction boxes even when it’s not raining.
Pay special attention to connections near sprinkler systems, under eaves where water runs off, and anywhere water naturally pools in your yard. These high-risk areas need extra protection beyond basic weatherproofing.
Choosing the Right Waterproofing Materials
Not all waterproofing products are created equal, and outdoor lighting connections need materials specifically rated for direct burial or wet locations. Here’s what actually works:
Silicone-filled wire connectors: These twist-on connectors contain waterproof silicone gel that seals around wires. They’re ideal for low-voltage landscape lighting and run $8-15 for a pack. Look for connectors rated for direct burial if you’re putting them underground.
Heat-shrink tubing with adhesive: When heated with a heat gun, these tubes shrink tightly around connections and the inner adhesive creates a waterproof seal. A quality set costs $12-20 and works beautifully for both low-voltage and line-voltage applications.
Dielectric grease: This non-conductive grease prevents corrosion and moisture intrusion in connections. Apply it to wire ends before connecting. A tube runs $6-10 and lasts for multiple projects.
Waterproof junction boxes: For above-ground connections, use boxes with rubber gaskets and weatherproof covers rated at least IP65. Budget options start around $15, while heavy-duty boxes run $30-50.
Avoid using regular electrical tape as your primary waterproofing—it degrades quickly outdoors. If you do use it, choose high-quality vinyl electrical tape and layer it with other waterproofing methods.
Proper Installation Techniques That Last
Having the right materials is only half the battle. How you install them determines whether your waterproofing holds up for seasons to come.
Start by making clean wire connections—strip insulation carefully and twist wires together firmly or use quality connectors. Loose connections create gaps where water can enter. Once your electrical connection is solid, apply dielectric grease generously before adding your waterproofing layer.
If you’re using heat-shrink tubing, slide it over the connection before you join the wires (learned that one the hard way). Heat it evenly until it’s snug and the adhesive oozes slightly at the edges—that’s your visual confirmation of a good seal.
For buried connections, go deeper than you think necessary. Aim for at least 6 inches below ground level, and consider running wires through conduit in high-traffic or frequently watered areas. This protects against both moisture and accidental damage from garden tools.
When installing junction boxes, mount them so the wire entry points face downward. Water runs down, so entries at the bottom shed moisture instead of collecting it. Add a small drip loop in the wire before it enters any box—this simple U-shape in the wire prevents water from following the cable directly into your connections.
Testing and Long-Term Maintenance
After waterproofing your connections, test everything before burying or finalizing the installation. Turn on your lights and let them run through a complete day-night cycle. If possible, spray connections with a garden hose to simulate rain while the system is powered on.
Plan to inspect outdoor lighting connections annually, ideally in early spring before the heavy use season. Look for corrosion, cracks in heat-shrink tubing, or moisture inside junction boxes. Catching small issues early prevents complete failure during your next outdoor dinner party.
Keep spare waterproofing materials on hand—a few extra silicone connectors and some heat-shrink tubing in your garage means you can make quick repairs without a trip to the hardware store. Most waterproofing fixes take 10 minutes once you have the right supplies ready.
Protecting your outdoor lighting connections doesn’t require advanced electrical skills, just the right approach and materials. With properly waterproofed connections, your landscape lighting will keep performing through rain, snow, and everything in between, letting you focus on enjoying your outdoor spaces rather than troubleshooting in the dark.
You flip over your outdoor rug to move it for cleaning and there it is—that telltale musty smell and those dark spots spreading across the backing. Mildew happens, especially in humid climates or shaded areas where rugs don’t fully dry between rain showers. The good news? Most outdoor rugs can be rescued with the right […]
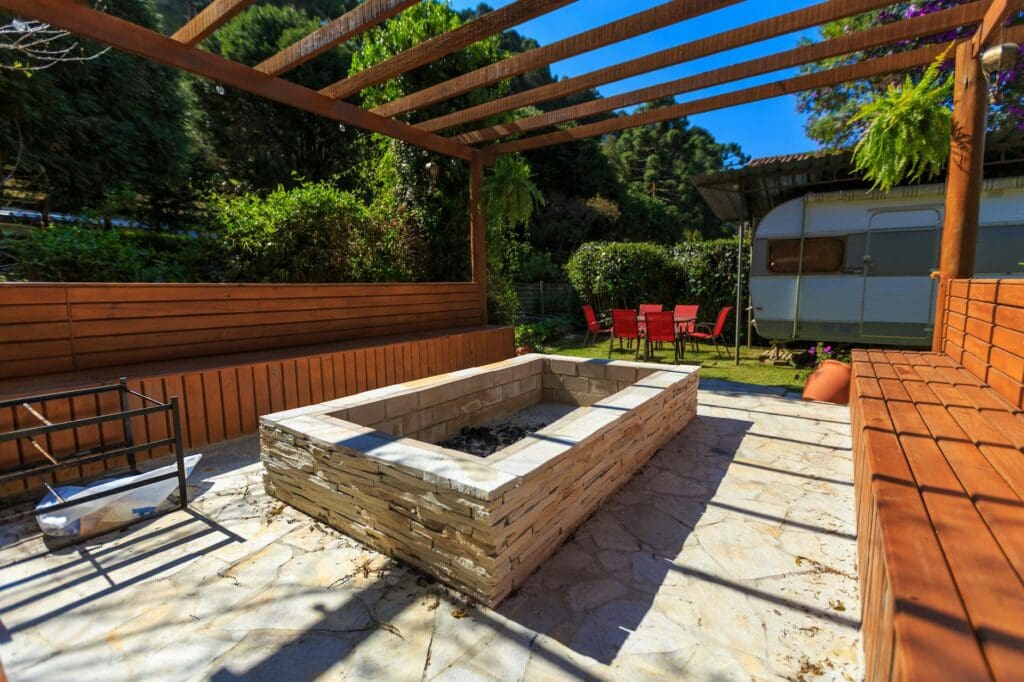
There’s something magical about gathering around a fire pit on a cool evening, but before you start shopping or striking that first match, you need to make sure you’re setting it up safely. A poorly placed fire pit isn’t just a fire hazard—it can damage your property, annoy neighbors, and even violate local codes. Let’s […]
There’s something magical about gathering around a fire with friends and family, drinks in hand, conversation flowing easily into the evening. A fire pit table takes that experience and makes it even better—giving everyone a place to set down their glass, rest a plate of appetizers, or lean in comfortably as the night gets cooler. […]