Ever wonder why designer bedrooms look so inviting while yours falls flat? The secret isn’t expensive sheets or a giant budget—it’s all about layering. Professional designers follow a specific formula that creates depth, texture, and that “I want to dive in” factor. Once you know the order and what pieces actually matter, you can recreate the look at any price point.
Start With Your Foundation Layers
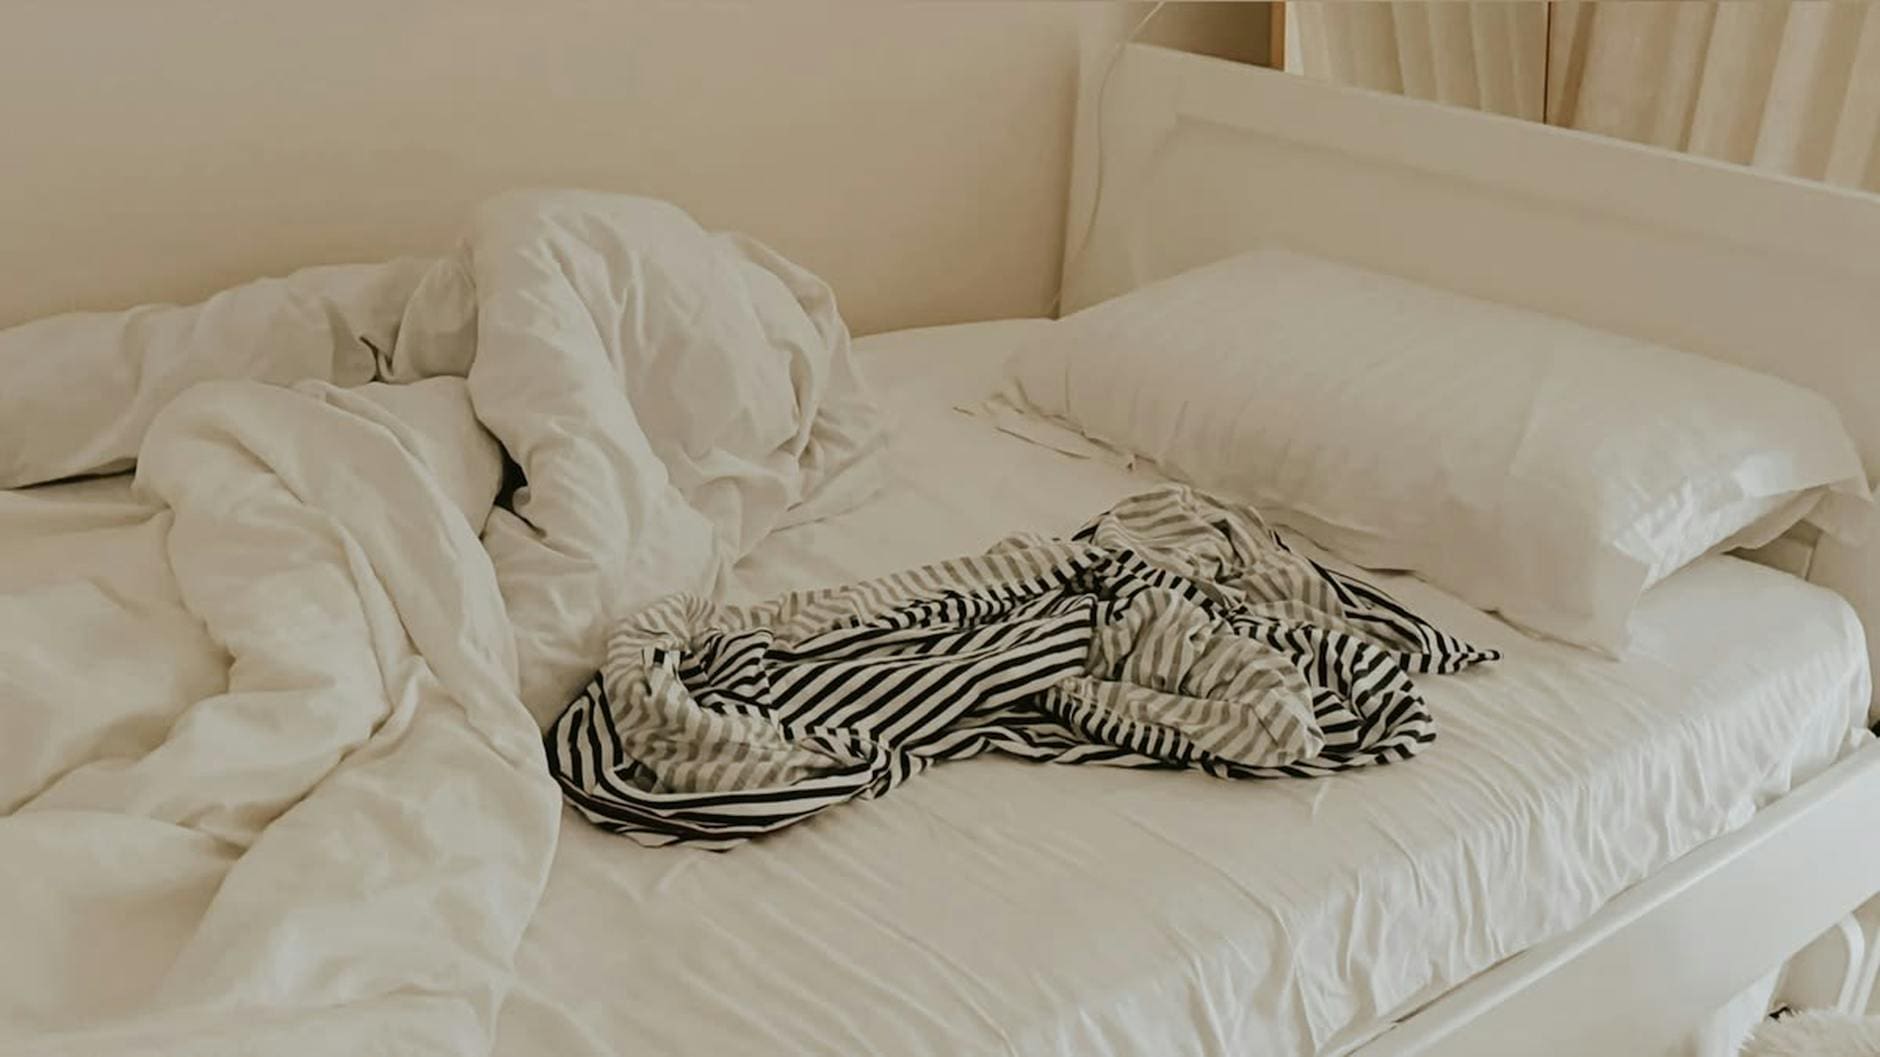
The base of great bedding starts with what most people already have: a fitted sheet, flat sheet, and your primary blanket or comforter. Here’s where many people stop, but you’re just getting started.
Your fitted sheet is purely functional, but your flat sheet matters more than you think. Choose one in a crisp white or neutral tone—it peeks out at the top of your bed and creates a clean line against everything else. Cotton percale gives you that cool, hotel-crisp feel, while sateen offers a subtle sheen. Expect to spend $30-60 for budget-friendly options, $80-150 for mid-range quality, and $200+ for luxury weaves like Egyptian or Pima cotton.
Next comes your duvet or comforter. Designers almost always prefer duvets because you can change the cover seasonally and wash it easily. A duvet insert in medium weight works year-round in most climates. Look for baffle-box construction if you’re going with down or down-alternative—it keeps the fill from shifting.
Add Visual Interest With a Coverlet or Quilt
This is the layer that makes your bed look professionally styled instead of just “made.” A coverlet or lightweight quilt sits on top of your duvet, folded down about two-thirds of the way down the bed. This creates dimension and shows off multiple textures at once.
Choose something that contrasts with your duvet cover—if your duvet is solid, try a subtle pattern here. If your duvet is patterned, keep this layer solid or textured. Matelassé coverlets add gorgeous texture without color, while velvet or linen quilts bring warmth and weight. This layer typically runs $60-120 for basic cotton options, $150-300 for quality matelassé or linen, and $350+ for designer or heirloom-quality pieces.
Fold it lengthwise and drape it asymmetrically for a more relaxed look, or fold it into thirds at the foot of the bed for classic hotel style.
Master the Pillow Formula
Here’s the designer secret: layers and numbers. Work in odd numbers (except for sleeping pillows) and build from back to front, largest to smallest.
Start with your sleeping pillows—two standard or king pillows in crisp white cases, standing upright against your headboard. In front of those, add two European square shams (26″ x 26″). These large squares create a plush backdrop and make everything look more luxurious.
Layer two standard shams in front of the Euro shams. These should coordinate with your duvet or coverlet. Finally, add one or two accent pillows in front—a lumbar pillow works beautifully here, or a single 20″ square pillow in a contrasting texture or pattern.
The total pillow count lands between 6-8 pillows, which sounds excessive until you see how it looks. Each layer should be slightly visible behind the one in front of it. European shams run $25-80 each depending on fabric, while decorative pillows range from $30-150.
The Finishing Touch: Texture at the Foot
A throw blanket casually draped across the foot of your bed is the final layer that pulls everything together. This is where you can have fun with texture—chunky knit, faux fur, or a woven throw all work beautifully.
Don’t fold it perfectly. Drape it asymmetrically or scrunch it slightly to one side. This casual element keeps all those crisp layers from looking too precious or untouchable. Budget $40-80 for acrylic or cotton throws, $100-200 for wool or quality chunky knits, and $250+ for cashmere or premium materials.
The magic of layered bedding is that you’re not just piling on pieces randomly—each layer serves a purpose in creating depth and visual interest. Start with these basics, stick to a cohesive color palette with varied textures, and you’ll have a bed that looks like you hired a designer without the designer price tag. The best part? You can build your layers over time, starting with the foundation and adding as your budget allows.
Shopping for a bunk bed mattress isn’t quite the same as choosing one for a standard bed frame. The biggest difference? Safety requirements. The wrong mattress thickness can create a dangerous gap between the sleeping surface and the guardrails, and not every mattress type holds up well on a slatted bunk bed platform. Here’s what […]
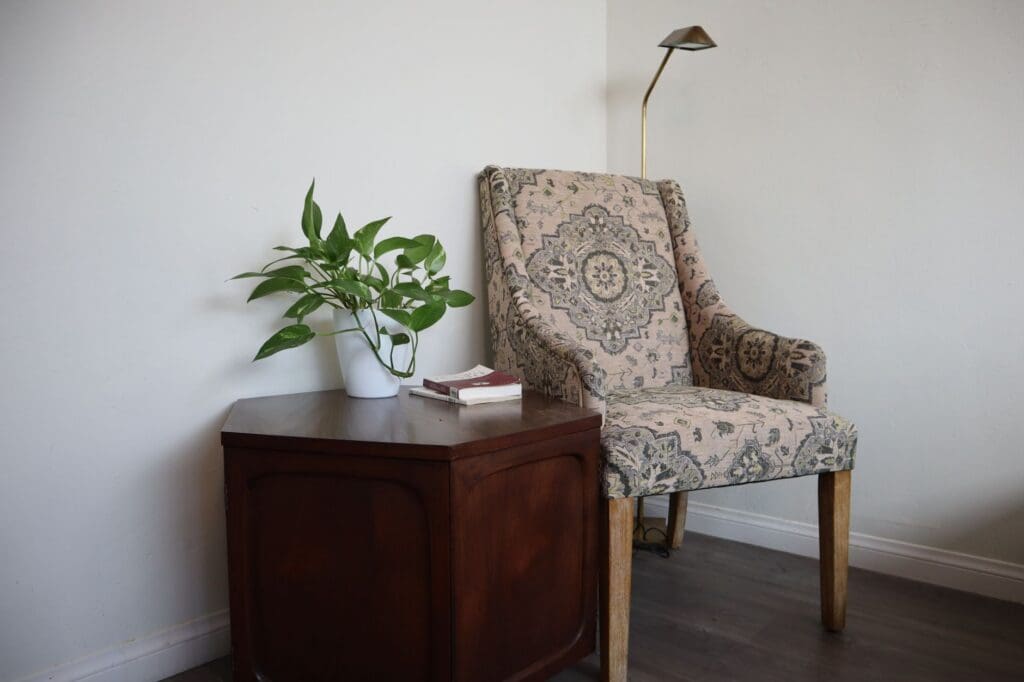
That empty corner in your bedroom has potential. You walk past it every day thinking it could be something more—a spot to read before bed, sip your morning coffee, or just escape for a few quiet minutes. A reading chair can transform that awkward space into your favorite corner of the house, but only if […]
If you’ve been tossing and turning on an old mattress, you already know it’s time for a change. But walk into any mattress store or browse online, and you’re immediately hit with the big question: memory foam or innerspring? Both have passionate fans, and honestly, both can give you great sleep. The real answer depends […]